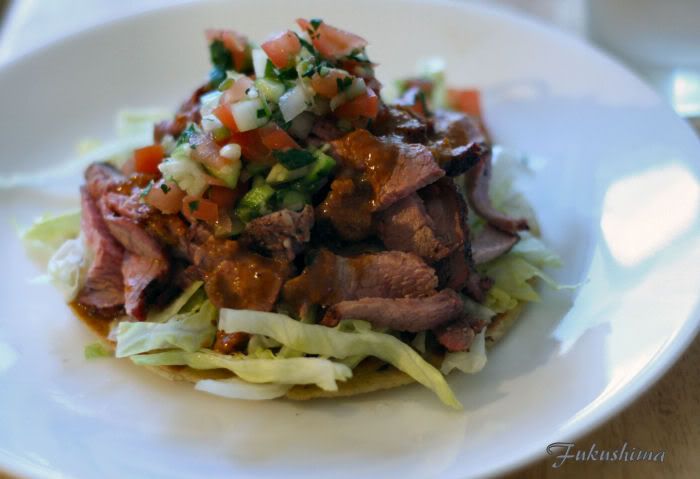
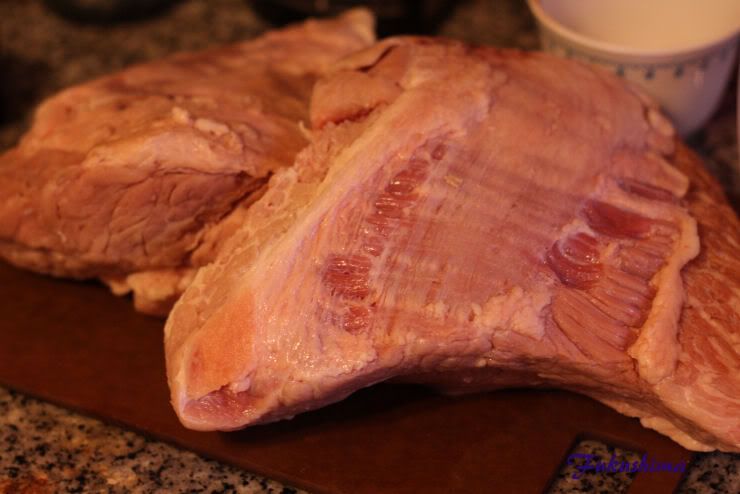
After nearly a week of eating that smoked corned beef in one iteration or another, it was time for a change. I decided something Asian was good, and Salt and Pepper prawns sounded like the ticket. Then at breakfast, the idea of Vietnamese Pork Chops came up. Well...hmmm....Pan-Asian then.
Pan-Asian Cod and Shrimp
First off, the green beans, I wanted dry-fried style green beans but with my own riff.
Ingredients:
1/2 pound green beans
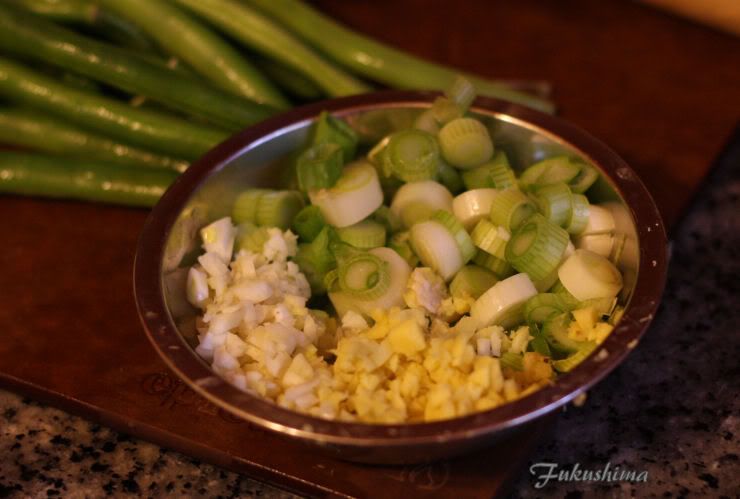
1 teapoon ginger, minced
1 teaspoon garlic, minced
1 tablespoon scallion, white part, chopped
1 tablespoon Red Boat fish sauce
1/2 teaspoon dark soy sauce
1/2 teaspoon Hoisin saice
1/4 teaspoon coarse turbinado sugar
1/2 teaspoon black pepper
1/2 teaspoon chile powder
Mix the last 5 ingredients and set aside. Saute the green beans in a well-seasoned wok, no oil. The beans should cook until slightly wilted. Remove from pan and add aromatics and one teaspoon of high heat oil. Fry briefly until aroma is released, do not burn garlic. Quickly add reserved liquid blend, then add beans and heat through. Serve hot.
Bean aromatics
Lovely Beans
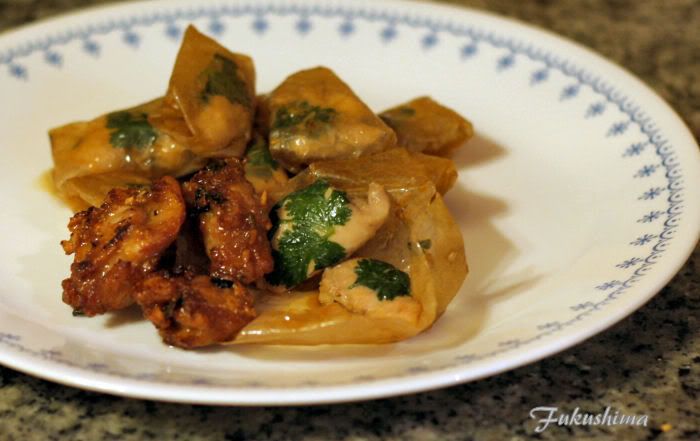
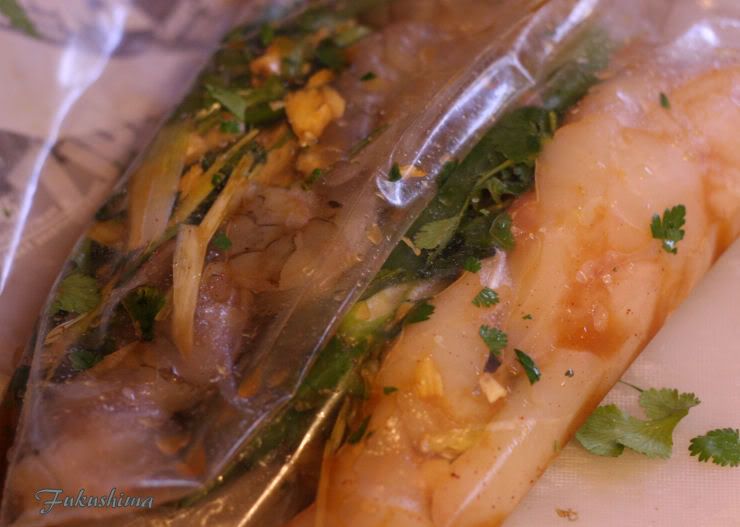
For the main protein of the meal, I ended up going with the cod and prawns I planned for salt and pepper preparation, but, added a few more flavors that would be reminiscent of Vietnamese pork cooking, minus the caramelization. So, fish sauce, palm sugar and lemongrass found it's way into the marinade.
Cod and Prawn-Pan-Asian flavor
Feesh and shreemp:
1/2 pound wild prawns
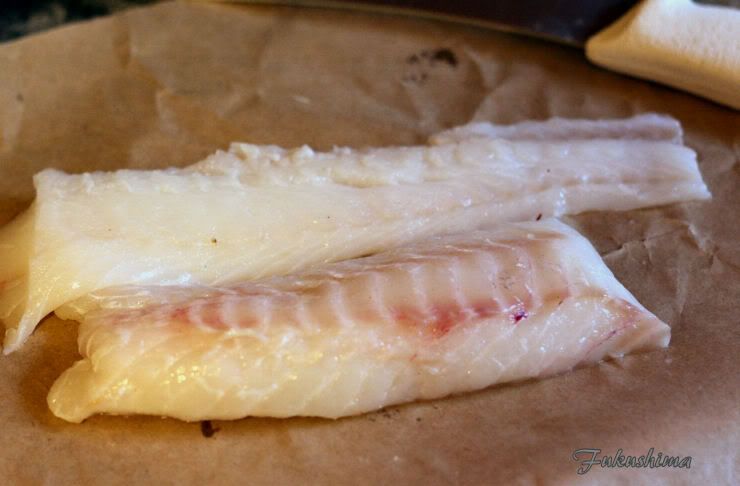
2/3 pound true cod
Marinade:
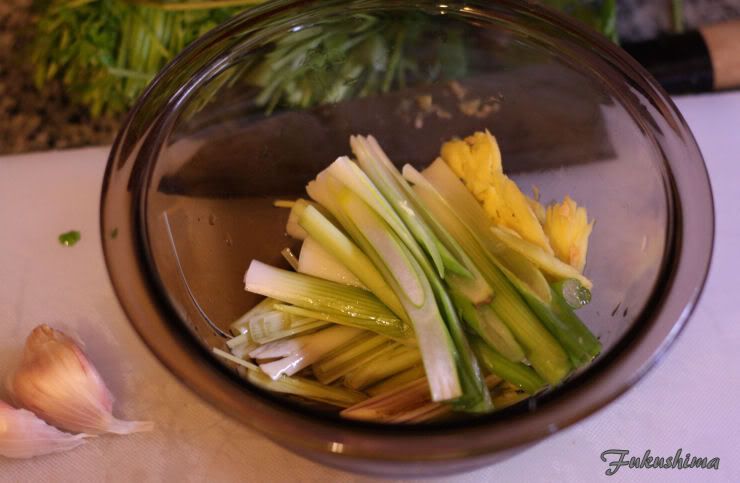
2 stalks lemongrass, tender center only, 2" sections
1 teaspoon ginger
1 teaspoon garlic
2 tablespoons scallions, white parts only, in 2" sections
1/2 teaspoon sesame oil
1 teaspoon olive oil or other oil
1 tablespoon white balsamic vinegar
1 teaspoon palm sugar syrup
4 tablespoons Red Boat fish sauce
1/4 cup white port
1/4 cup water
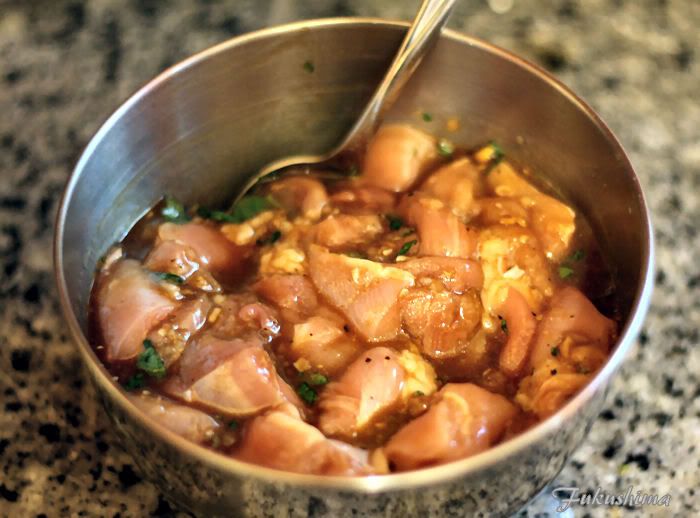
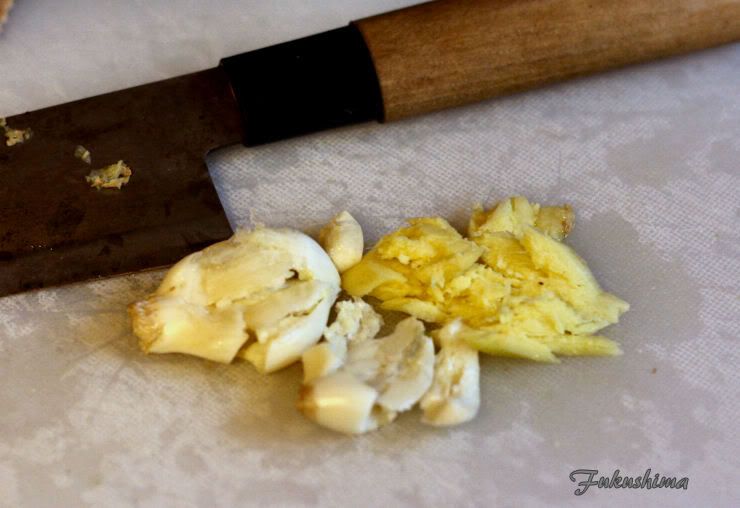
Clean shrimp and make sure cod is boneless and cut into chunks. Reserve. Taking just the tender parts of the lemongrass, the white part of scallions, peeled garlic and ginger (peeling not really necessary) and crush in a bowl. Add all other marinade ingredients and muddle.
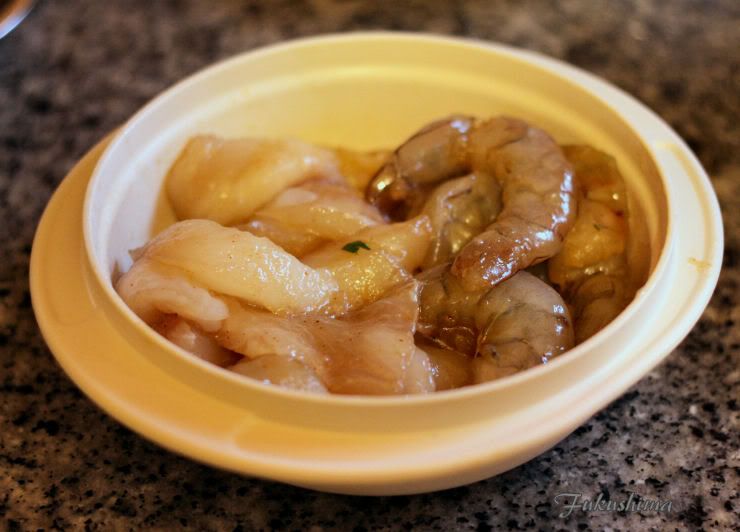
Add 1/2 of marinade into plastic bags, add cod and shrimp separately into each bag. Marinate for at least 2 hours. The meat will dehydrate due to salt in the marinade, then draw in marinade, this takes at least 2 hours.
Crushed garlic and ginger
Lemongrass, Scallion
In the marinade
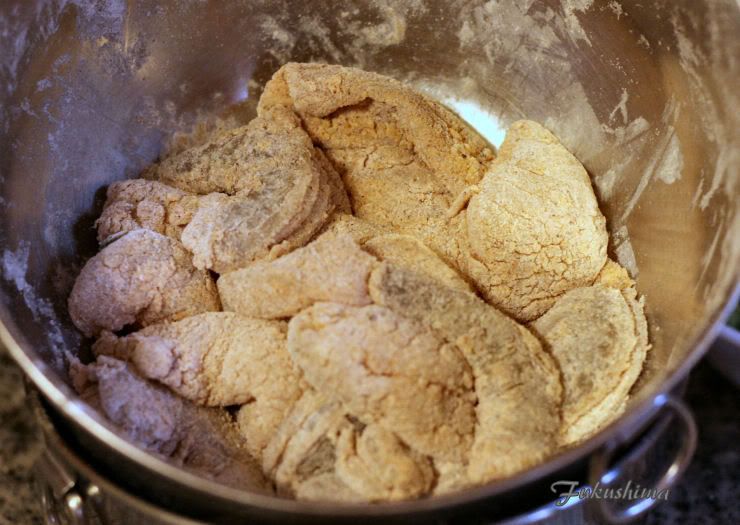
Coating:
3 tablespoons pastry flour
3 tablespoons corn starch
1/2 teaspoon black pepper, chile powder, salt
Frying Stuff:
1/4 cup high heat oil, safflower or sunflower seed, peanut, what have you
1 teaspoon of garlic, ginger and white scallion
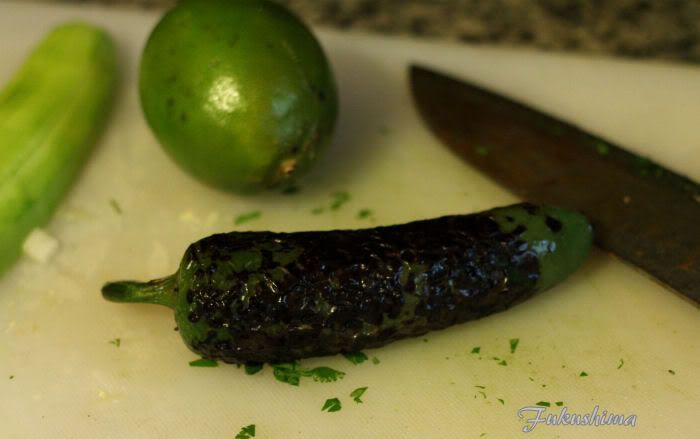
1/2 teaspoon or more sliced serrano or Thai red chile (you will note I forgot to buy these)
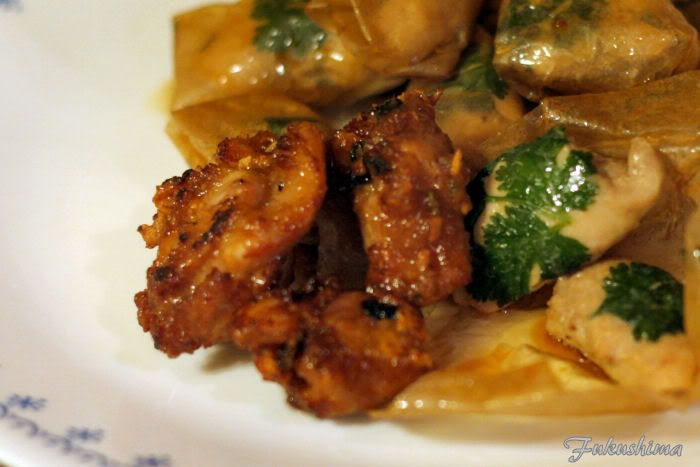
Remove fish and shrimp from marinade, they will feel a little dense, this is fine. Dredge in coating, then shake loose. The meat should be barely coated. Heat oil in wok, place shrimp in first, then fish, fry until crisp. Smaller woks mnay require more than one frying session. No worries. Once fish and shrimp is fried, add a little more oil, fry aromatics until aroma is released, add fish and shrimp back in, toss to heat. Serve immediately.
Cod filets
Out of the marinade
Coated Fish and Shrimp
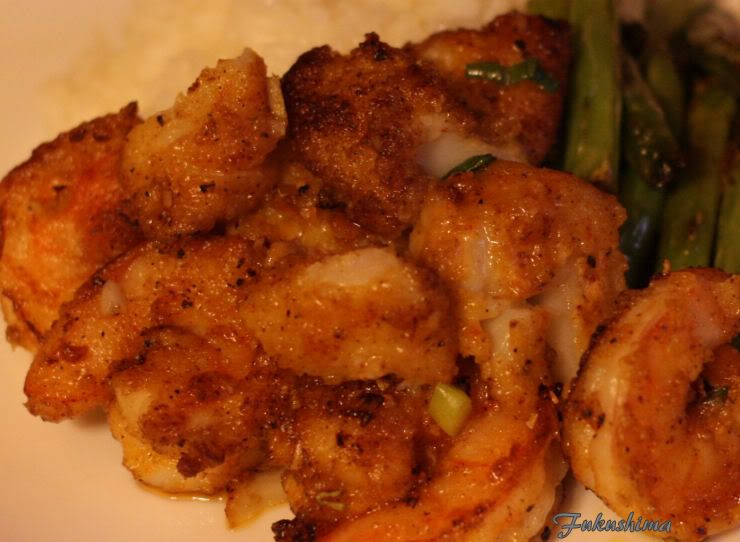
The Close-up
This was all served with white rice, even though the ingredients echoed throughout the two dishes, the flavors really took on distinct flavors as the beans, cod and shrimp each flavored the supporting flavors independently. This was the goal of marinating seperately, making quick cook changed and not really frying things all together. I really need to make shopping lists, as the chiles were missed. Even some jalapenos would have worked.